TL;DR: Small bathroom changes can create a bigger impact than expected. Discover how smart layouts, hidden storage, compact fixtures, and design adjustments can improve space, comfort, and functionality during a remodel.
You’re already tearing your bathroom apart, so what better time to claw back every inch of usable space while you’re at it? Done right, a creative bathroom remodel can transform a tight room, where a sideways shuffle is common, into a more organized, open space that’s much easier to use.
A remodel is an opportunity to start fresh, instead of swapping a few features around. You can plan things out, consider where storage should go, which design details are most important to you, and how the room will function when complete.
With the right tips and a clear sequence of goals, you can avoid some of the more common mistakes and end up with a bathroom that’s noticeably larger. This guide will walk you through 7 ways to increase bathroom space, including:
- Smart bathroom remodeling projects can create more usable space without moving structural walls.
- The planning stage is the perfect time to rethink layout, storage, and bathroom fixtures so your bathroom remodel feels bigger, not just newer.
- A mix of walk-in shower layouts, slimmer vanity options, and vertical storage can add breathing room even in a small bathroom or powder room.
What This Means For You: A bathroom that feels cramped is not always limited by its size. Often, better planning, smarter placement of fixtures, and intentional design choices can help you create a space that feels more open and easier to use.
1. Rethink the Layout Before the Demo Starts
One of the most effective and impactful ways to create additional space is to reconsider how everything is arranged while you’re still in the planning stage. Changes become more difficult when you’re right in the middle of a renovation, or nearly done.
Questions to ask:
- Do we really need a separate tub and shower stall, or would a larger walk-in shower work better?
- Would shifting the toilet or vanity improve access and traffic flow?
- Is there an awkward corner that could accommodate custom cabinetry or a linen tower?
Layout tips:
- Avoid moving major plumbing lines if possible (keeping the bathtub, shower, and sink close to their original positions can save money on the project).
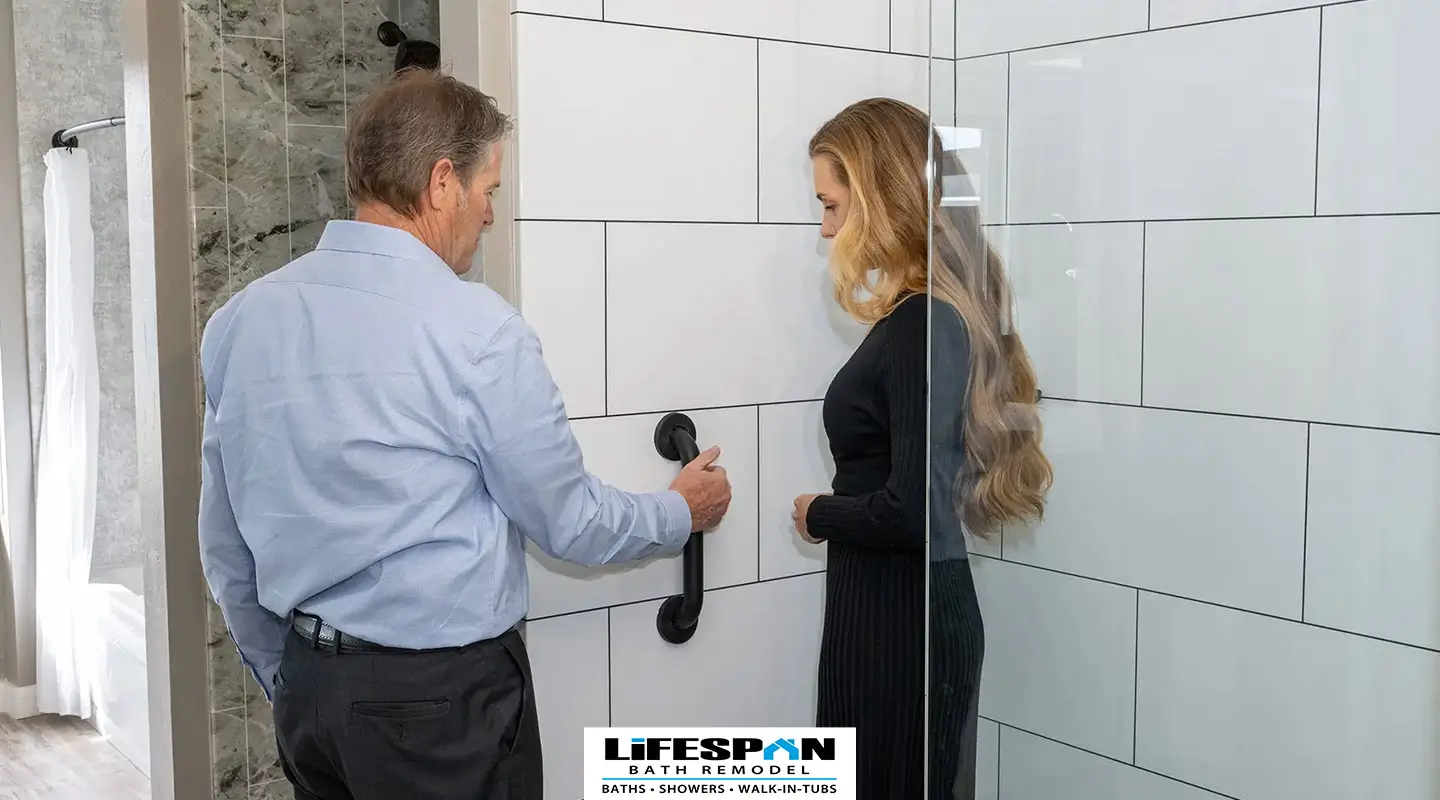
- If your bathroom is especially tight, a curbless walk-in shower will open the floor visually and make it easier to move around (especially when paired with grab bars for safety).
- Plan for a minimum clear area (around 30″ x 48″) in front of the shower so people can comfortably step in and dry off.
Remember, full remodel timelines can run for two, potentially three weeks, sometimes longer. Ordering the key materials needed (tile, new vanity, new shower, new tub, etc.) in the early phase of the process will help you avoid delays once the demolition is underway.
Before You Decide: Before finalizing the layout, consider who will use the bathroom, where extra space is needed most, and whether the design will continue to work as your needs change over time.
2. Trade the Old Tub-Shower Combo for a Space-Savvy Walk-In
A traditional alcove bathtub with a curtain is prototypical, but it generally eats up visual and physical space. Throughout the bathroom renovation process, consider:
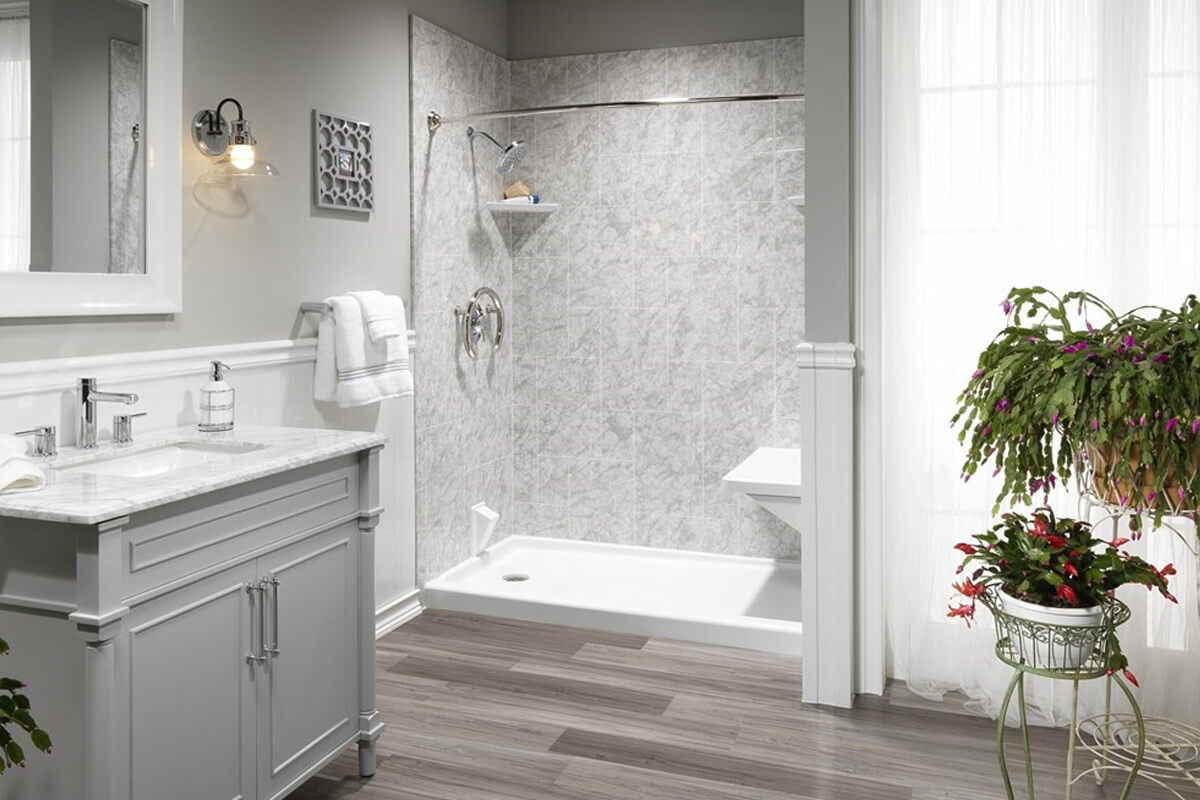
- Replacing the combo with a walk-in shower and built-in bench.
- Using frameless shower walls and glass instead of a bulky shower curtain to keep sightlines open.
- Designing shower walls with niches so shampoo bottles don’t clutter the edges.
Curbless walk-in showers are currently trending for accessibility and style. They can make a small bath feel much wider and safer, especially when grab bars and textured tiles are included in the project. If you still prefer a soaking option, a compact, freestanding tub with a separate shower may feel lighter than a big, built-in deck, especially in a master or primary bathroom.
What To Consider: Before replacing a tub, think about how the bathroom is used most often. A walk-in shower may provide better everyday functionality, while keeping a tub can be valuable for households with children or buyers who prefer soaking options.
3. Choose Slimmer, Smarter Vanities and Storage
Bulky cabinets chew up space and can take up a large portion of both the usable and visual real estate of a bathroom. A remodel is the perfect opportunity to upgrade storage and free up some valuable floor space.
Vanity and storage ideas:
- Swap a boxy cabinet for a narrower new vanity with open shelving or floating legs to make more flooring visible.
- Use recessed medicine cabinets and custom niches instead of thick wall cabinets to keep existing walls cleaner.
- Add floating shelves or custom cabinetry over the toilet for items you don’t need every day.
Design details that help:
- Pick a sink that matches the shape and size of the room, perhaps with a wider but shallower basin, or a corner sink in especially tight layouts.
- Combine closed storage (for messy bottles) with a few open shelves for décor so the space doesn’t feel too crowded.
Prioritizing storage during a bathroom remodel will make it easier to keep the counters clean and keep you from stacking bathroom commodities and other items in places where they don’t belong.
Tip: Use storage zones based on how often items are used. Keep daily essentials within easy reach, while placing seasonal or less frequently used items in higher cabinets or deeper storage areas to reduce countertop clutter.
4. Use Surfaces and Lighting to Make the Room Feel Bigger
Adding square footage just isn’t in the cards sometimes, and if you can’t free up some extra space, you can give the room a more spacious aesthetic with the right finishes and lighting.
Surface choices:
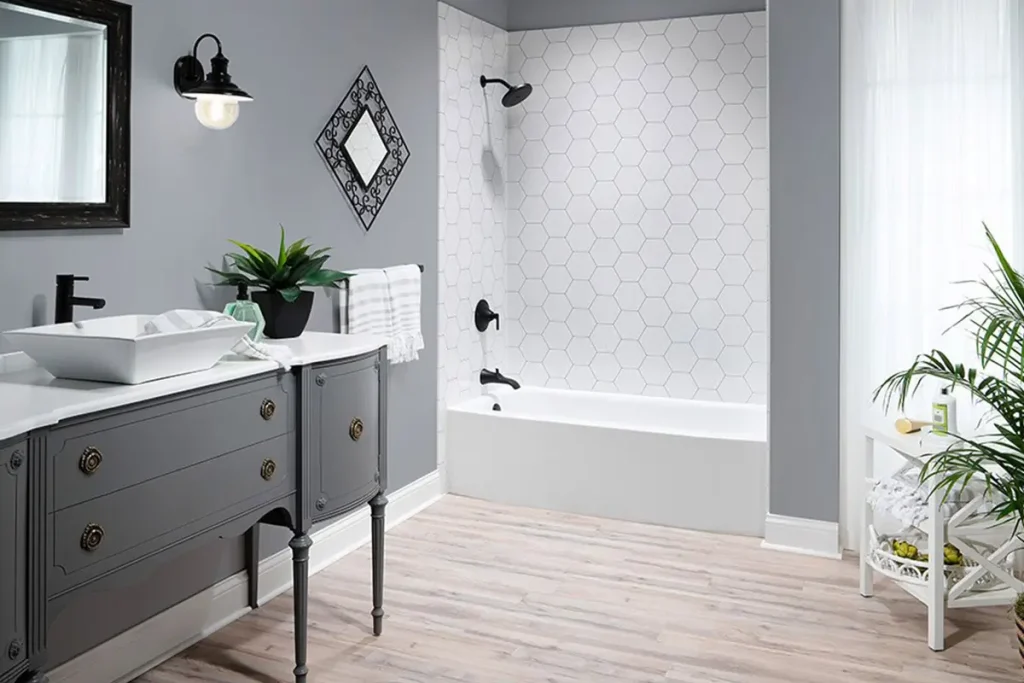
- Use larger-format tile on the floor and shower walls to reduce grout lines and visual clutter.
- Run the same flooring into the shower (with proper waterproofing) to create a continuous line.
- Pick light or neutral colors (sage green, beiges, and off-whites) for paint and tile to reflect more light and appeal to future buyers.
Lighting strategies:
- Layer general, task, and accent lighting:
- Recessed cans or a modern flush mount for overall light.
- Vanity sconces at eye level to avoid shadows on your face.
- Optional toe-kick or niche lighting for a soft night light.
- Consider shower-rated recessed fixtures in a large new shower so the whole space feels connected.
Better lighting and reflective surfaces make it easier for homeowners to see, move around without slipping, and perceive the room as larger, even in a compact powder room or a small bathroom.
How It Works: A spacious bathroom design works by controlling what the eye sees first. Open sightlines, balanced lighting, and fewer visual interruptions create the perception of more room without changing the bathroom’s actual dimensions.
5. Maximize Every Inch During Demolition and Build
Once the destruction phase begins, you’ll see what’s really within the walls. It’s the ideal moment to reclaim some of that potentially hidden space and shore up the bathroom’s aging bones.
During demo:
- Remove old fixtures, damaged drywall, and any signs of mold or water damage.
- Check framing to see if you can add shallow niches or recesses for cabinets or shelving (always with structural permission from your contractor).
During the rebuild:
- Choose an exhaust fan appropriately sized for the bathroom and installed according to local requirements.
- Choose moisture-resistant backer board and membranes behind the shower stall and bathtub areas to prevent future issues.
- Install new fixtures, such as the faucet, toilet, and shower trim after surfaces are done so they sit cleanly against finished walls.
Going the extra mile and investing in solid, durable infrastructure in the present means fewer surprises down the road. It will also keep your bathroom remodeling projects from undoing themselves thanks to moisture problems.
What To Expect: The demolition and rebuild stage often reveals issues that were not visible before construction, such as outdated plumbing, moisture damage, or insufficient ventilation. Addressing these concerns early helps avoid disruptions after the remodel is complete.
6. Balance DIY Ambition with Professional Help
A DIY bathroom remodel is a satisfying end-goal, at least from the early stages of the perception process, but some tasks are more complex than you might assume, especially if you have no history with working in a craft.
Good candidates for a DIY bathroom:
- Painting walls and ceiling with moisture-resistant paint.
- Installing simple bathroom fixtures like towel bars, mirrors, and updated decor.
- Swapping a basic faucet or shower head if you’re comfortable with tools.
Jobs better for pros:
- Rerouting plumbing or wiring behind existing walls.
- Tiling shower walls and flooring, where improper waterproofing or grout work can cause leaks.
- Structural changes or fixing extensive water damage.
Bringing in a licensed contractor or designer can make all the difference. It may end up saving you a ton of cash in the long-term by preventing code issues and rework. This is especially true if you’re doing a full remodel with a new tub, walk-in shower, or adding grab bars.
Key Takeaway: DIY bathroom projects can be rewarding, but the best results come from understanding where personal effort adds value and where expert skills are needed.
7. Plan Your Budget and Timeline Around Space-Boosting Priorities
Last but not least, remember that even well-planned bathroom remodeling projects are time-consuming affairs that can also uncover surprises, some of which may not be very pleasant in terms of your bank account.
Budget tips:
- Bathroom remodeling costs vary based on the project scope, material selections, labor requirements, and whether plumbing or structural changes are involved.
- Expect labor costs to make up a large portion of the total cost, especially when moving plumbing or adding custom cabinetry.
- Leave room in the budget for unexpected issues such as mold, water damage, or other conditions uncovered during demolition.
Project timelines vary depending on the scope, material availability, inspections, and whether plumbing or structural changes are required. Planning (ordering materials early, sequencing installation correctly, building in slack time, etc.) helps keep things on track and your household sane while the room is out of commission.
Before You Start: Create a simple remodel roadmap:
- Define your main goals for the bathroom.
- Separate must-have upgrades from optional features.
- Set realistic expectations for cost and completion time.
- Work with professionals for complex changes.
Conclusion: Use Your Bathroom Remodel to Gain Space, Not Just Style
Any bathroom remodel will likely (if done right and with patience) provide you with a fresh look. However, a well-thought-out and well-planned renovation will also give you some room to breathe and kick back after a long day. Rethinking the layout, replacing bulky fixtures with space-conscious options, and improving storage can make the bathroom feel more open and functional.
Use the surfaces and lighting strategically. All in all, you’ll end up with a bathroom that feels bigger, cleaner, and much easier to use. If you need help turning your bathroom remodel ideas into a plan that maximizes your space, LifeSpan Bath Remodel can guide you through the entire bathroom renovation, from the first planning stage to the final new fixtures.
Our Utah bathroom remodeling team can suggest layouts, materials, and design details that vibe with your home, your lifestyle, and your budget. We can also handle the installation, so you don’t have to coordinate every step by yourself.
To see what’s possible in your own bathroom and talk through the best ways to increase your elbow room, reach out to LifeSpan and schedule a consultation today. With a solid plan and a respected partner, your next project will deliver more storage, better flow, and a bathroom that feels as open and spacious as you want it to.
Frequently Asked Questions
How can I make a small bathroom feel bigger during a remodel?
You can make a small bathroom feel larger by improving the layout, using space-saving fixtures, adding smart storage, and incorporating lighting and finishes that create a more open appearance.
Is a walk-in shower better than a bathtub for saving bathroom space?
A walk-in shower can create a more open feel by removing bulky tub walls and improving visual flow. However, the right choice depends on your household needs and preferences.
How can bathroom storage be improved without taking up floor space?
Recessed medicine cabinets, built-in niches, floating shelves, and vertical storage solutions can add organization while keeping the floor area open and easier to navigate.
Can lighting make a bathroom look larger?
Yes. Layered lighting, reflective surfaces, and carefully placed fixtures can reduce shadows and visual clutter, making a bathroom feel brighter and more spacious.
What are the best space-saving ideas for a bathroom remodel?
The best space-saving ideas include floating vanities, compact fixtures, open shower designs, recessed storage, and layouts that improve movement throughout the room.
Questions? Talk to a Pro.
We beat any competitor by $100! Call for details. (801) 532-2000
Recent articles
What Homeowners Should Know Before Choosing PuroStone for Their Shower Remodel
How to Decide If Your Bathroom Needs a Partial Upgrade or a Full Bathroom Remodel

What Bathroom Design Features Help Reduce Daily Maintenance?
What Causes Bathroom Remodeling Projects to Fail and How Can Homeowners Avoid Them?

What Are the Best Bathroom Upgrades for Aging Parents Living at Home?
7 Ways to Increase Bathroom Space When Remodeling

Which Bathroom Safety Features Prevent the Most Falls for Seniors?

What Should You Prioritize When Planning a Full Bathroom Remodel?
Related Posts
Matt Tychsen
October 1, 2026
What Homeowners Should Know Before Choosing PuroStone for Their Shower Remodel
TL;DR: Is PuroStone a Good Choice for a Shower Remodel? PuroStone may appeal to homeowners who want a clean shower look, fewer visible...
September 22, 2026
How to Decide If Your Bathroom Needs a Partial Upgrade or a Full Bathroom Remodel
Not every dated bathroom needs to be completely torn apart. Sometimes a few well-chosen updates can make the space feel new again. Other...
September 16, 2026
What Bathroom Design Features Help Reduce Daily Maintenance?
Some bathrooms feel harder to keep clean because their design traps moisture, soap residue, and clutter. Homeowners comparing bathroom remodeling considerations can reduce...